


This pattern is offered for free, and if you’d like to support me as a maker and allow me to continue offering lovely patterns with you, please consider making a donation of your choice over on my Ko-Fi page. Thanks! This post contains sponsored items gifted for review by BC Garn.
Hot water bottles are an absolute essential for all the family. Whether you’re soothing aches and pains, needing a little comfort, or simply trying to stay warm during the colder months, a high-quality hot water bottle is a must-have in every home.
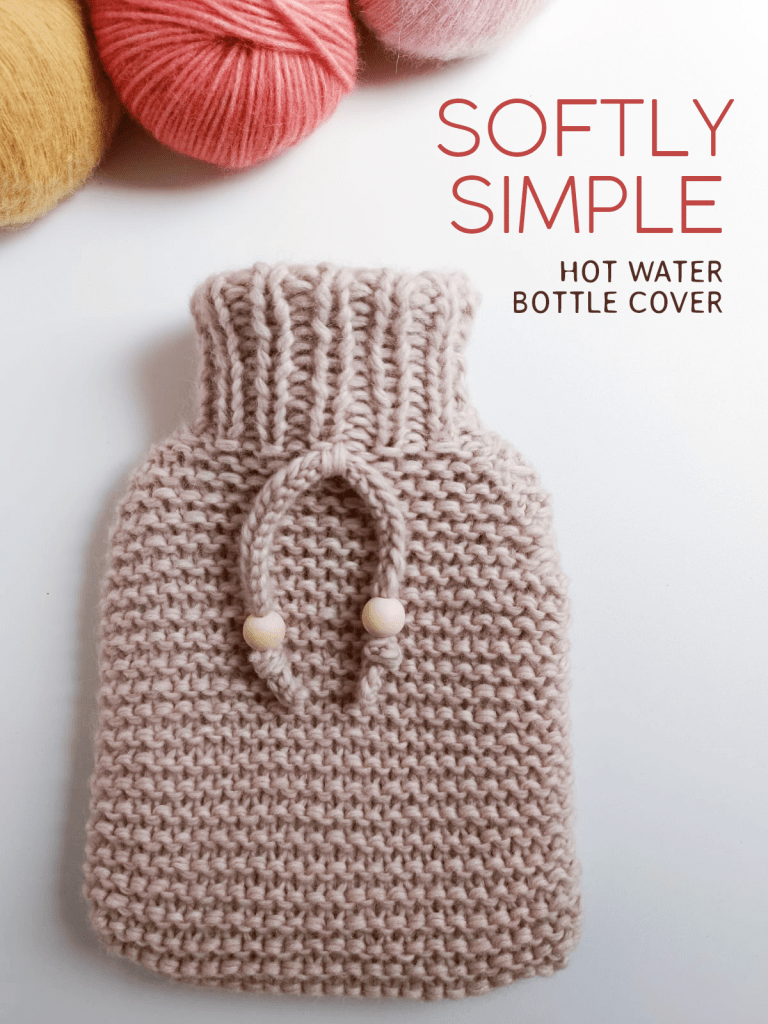
The problem is though, that most hot water bottle covers you find in shops are often scratchy, itchy, and uncomfortable, especially once they warm up. They can even leave your hands feeling a bit sweaty, which isn’t exactly the cosy, comforting experience we’re after. That’s why I love making my own covers, and I’m excited to share this beginner-friendly knitting pattern for the Softly Simple Hot Water Bottle Cover. I have to admit that I’ve been a tad obsessed with knitting covers recently, and I’ve got a whole load of them on the way to share with you! One thing I adore about knitting them is that it’s kind of like making a little armless sweater – from the cute rollneck sectio down to the increases, they really resemble a baby-sized raglan jumper… Super adorable!
As for the design and pattern specs, this project is worked flat, using either circular or straight needles, whichever you prefer. It’s a wonderfully simple way to practise gentle increases and decreases, and it’s worked with yarn held double for a thick, cosy finish. Because it’s knitted flat rather than in the round, you don’t need to worry about complicated shaping. and just have to focus on just minimal increases and decreases, making it perfect for confident beginners.
For this project, I used the beautiful Brisa yarn by BC Garn, which is an absolutely stunning blend of cotton, alpaca, and wool. It’s luxuriously soft, warm, and cosy – perfect for a hot water bottle cover. That said, you can absolutely substitute this yarn with any yarn that meets the gauge when held double, depending on your budget and preferences. Natural fibres, particularly wool, always work best for hot water bottle covers, just a tip!
The garter stitch gives a squishy, cuddly texture, ideal for wrapping your hot water bottle in warmth and comfort. The ribbing adds a subtle, structured detail, and the optional wooden bead detailing at the front brings a clean, modern, Scandi-inspired touch. You could also add pompoms for a playful look. Make them in all the colours to match your interior spaces and you’ll bring a gorgeous handmade touch to any room.
Not only is this cover practical, it also makes an amazing handmade gift for yourself or someone you love. It’s perfect for new parents, housewarming presents, or as a cosy, thoughtful Christmas gift.
Pattern:
Needles: 9mm and 5.5mm knitting needles (straight or circular for working flat), yarn needle, scissors.
Optional: wooden beads, pompom maker.
Skills & Abbreviations: Knit stitch (K), knit two together (K2tog), knit front and back (KFB), cast on (CO), bind off (BO).
Yarn: BC Garn Brisa, 3 balls in the colour 02.
Total yardage: 330 m
Gauge: 22 sts x 20 rows in garter stitch.
Strands are held double throughout the project.
Co 14 sts on 9 mm needles.
Rows 1–23: K1, P1. (14 sts)
Row 24: K. (14 sts)
Row 25: K1, kfb, K to last 2 sts, kfb, K1. (16 sts)
Row 26: K. (16 sts)
Row 27: K1, kfb, K to last 2 sts, kfb, K1. (18 sts)
Row 28: K. (18 sts)
Row 29: K1, kfb, K to last 2 sts, kfb, K1. (20 sts)
Row 30: K. (20 sts)
Row 31: K1, kfb, K to last 2 sts, kfb, K1. (22 sts)
Row 32: K. (22 sts)
Row 33: K1, kfb, K to last 2 sts, kfb, K1. (24 sts)
Row 34: K. (24 sts)
Row 35: K1, kfb, K to last 2 sts, kfb, K1. (26 sts)
Row 36: K. (26 sts)
Row 37: K1, kfb, K to last 2 sts, kfb, K1. (28 sts)
Row 38: K. (28 sts)
Rows 39–72: K all rows. (28 sts)
Row 73: K1, k2tog, K to last 3 sts, k2tog, K1. (26 sts)
Row 74: K. (26 sts)
Row 75: K1, k2tog, K to last 3 sts, k2tog, K1. (24 sts)
Row 76: K. (24 sts)
Row 77: K1, kfb, K to last 2 sts, kfb, K1. (26 sts)
Row 78: K. (26 sts)
Row 79: K1, kfb, K to last 2 sts, kfb, K1. (28 sts)
Row 80: K. (28 sts)
Rows 81–111: K all rows. (28 sts)
Row 112: K1, k2tog, K to last 3 sts, k2tog, K1. (26 sts)
Row 113: K. (26 sts)
Row 114: K1, k2tog, K to last 3 sts, k2tog, K1. (24 sts)
Row 115: K. (24 sts)
Row 116: K1, k2tog, K to last 3 sts, k2tog, K1. (22 sts)
Row 117: K. (22 sts)
Row 118: K1, k2tog, K to last 3 sts, k2tog, K1. (20 sts)
Row 119: K. (20 sts)
Row 120: K1, k2tog, K to last 3 sts, k2tog, K1. (18 sts)
Row 121: K. (18 sts)
Row 122: K1, k2tog, K to last 3 sts, k2tog, K1. (16 sts)
Row 123: K. (16 sts)
Row 124: K1, k2tog, K to last 3 sts, k2tog, K1. (14 sts)
Row 125: K. (14 sts)
Rows 126–148: K1, P1 for 23 rows. (14 sts)
Cast off.
With the wrong side facing you, seam the sides up using mattress stitch or your preferred seaming method. Turn your work the right way round, fold down the top of the ribbed sections to form a “rollneck” style. Wet block for best results and an even finish.
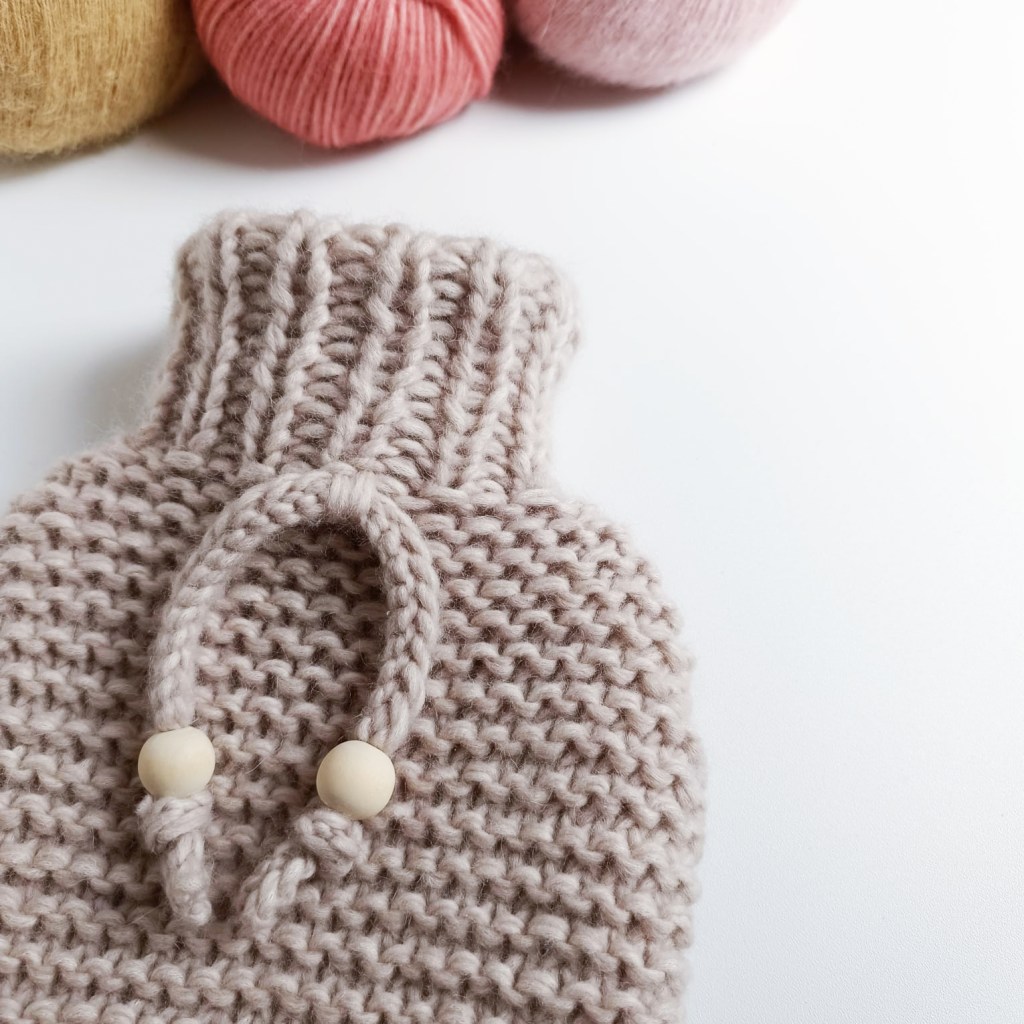
Optional bead detailing:
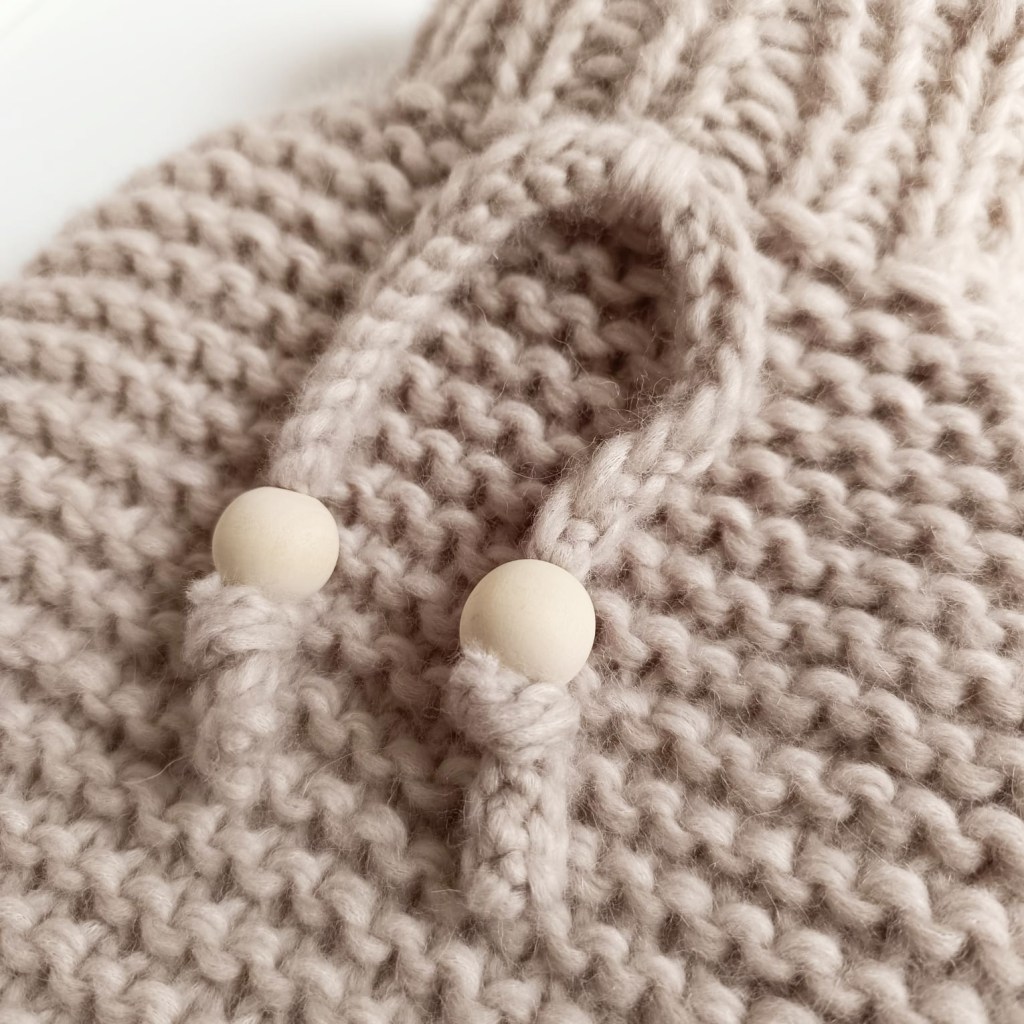
Co 46 sts onto your 5.5mm needles. Bo all sts loosely.Thread a large wooden bead onto either end as shown. Sew onto the centre front of your piece, just underneath where the ribbed section starts.
If you enjoyed this pattern let me know by tagging me on Instagram,
Happy crafting,


Leave a comment