

We need to talk about velour/chenille yarn. Like, we seriously need to discuss it right now. I don’t know about you, but this yarn has been wavering between being the love of my life (it looks gorgeous when it’s crocheted up tightly, for example, just look at those bags) and my mortal enemy (the fluff, omg, the fluff) for a while now. Not so long ago I over-ordered for a sponsored campaign and ended up with a shedload of velour yarn that I haven’t used, mistakenly thinking that it would be a good idea to use for a blanket but instead of getting crocheted it just ended up sitting in my yarn shelves looking sad. Pretty, but sad.
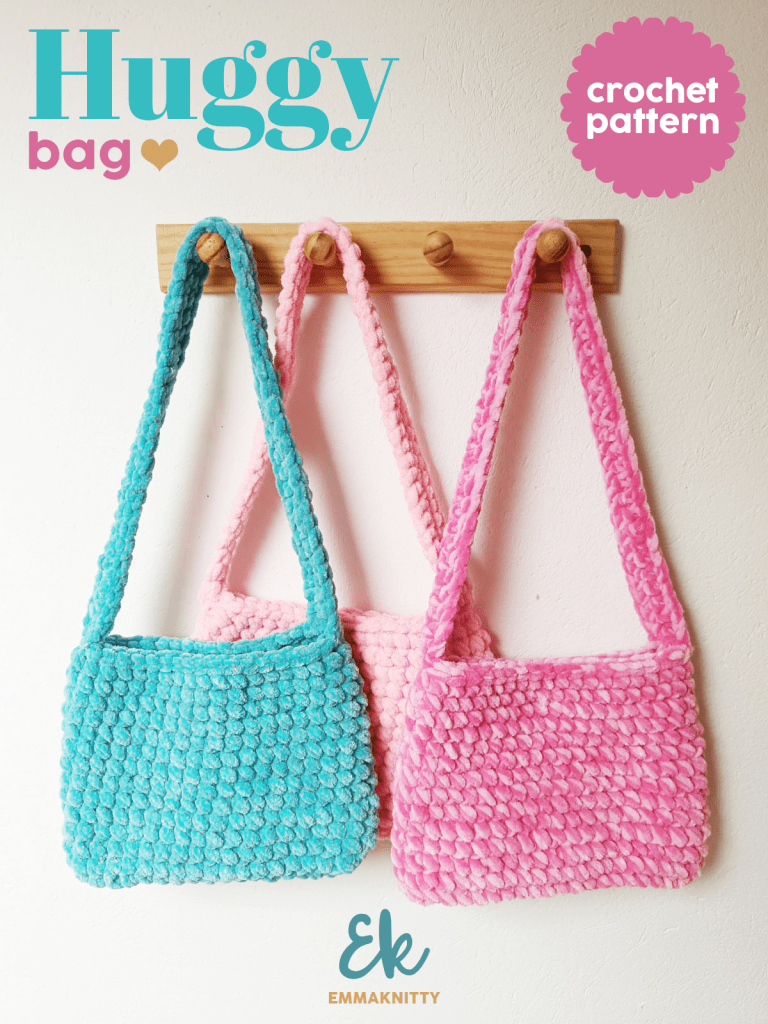
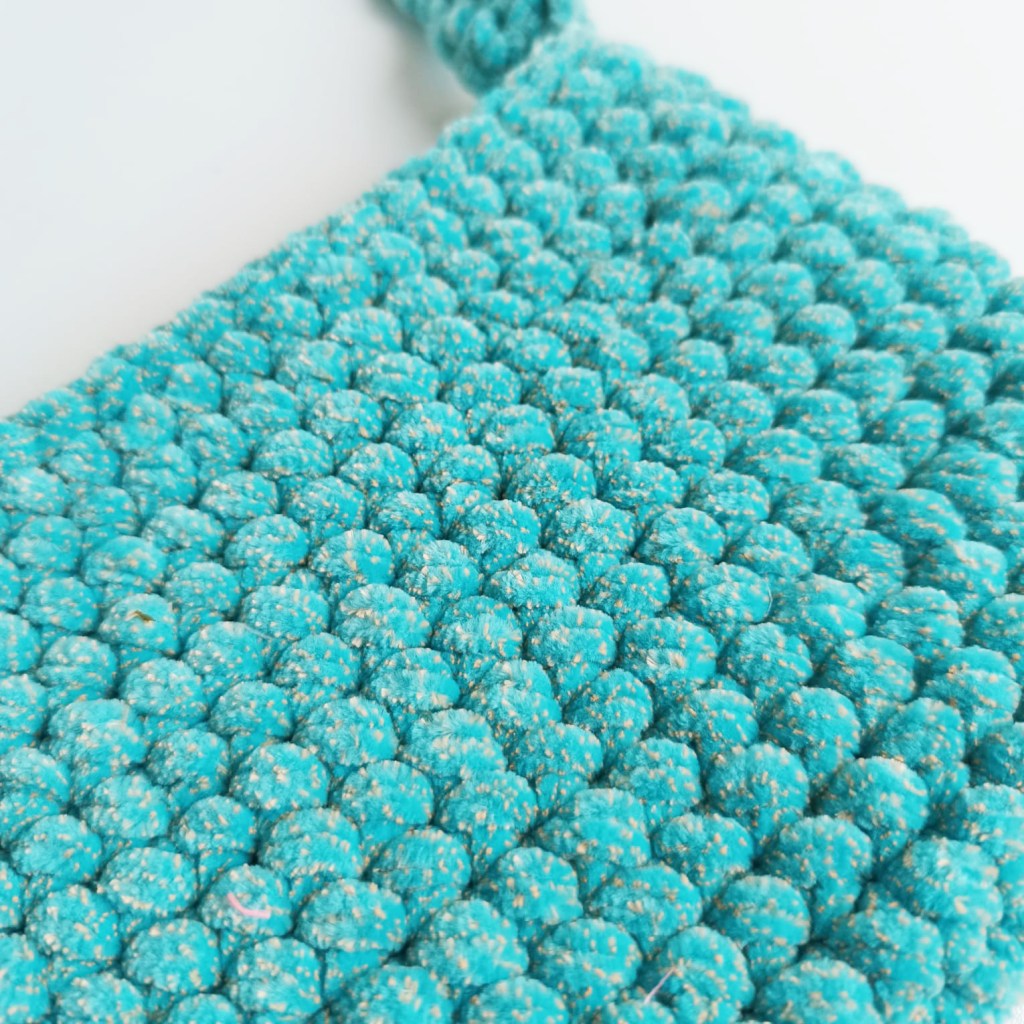
However, chenille yarn does make spectacularly good bags (if they’re crocheted tightly) so, as a crocheter who adores making bags and has a colossal amount of velvet filling my shelves, I thought I’d design a very simple, very demure, very classic and VERY ✨Y2K-vibes✨ bag that will only take you an hour or so to make. All you need is a couple of balls of chenille yarn held double, a hook and a bit of patience and you’ll end up with a really dense, satisfying handbag that you can customise as you wish. How cool is that? This bag is compact but also big enough to fit in a stand-sized smartphone, makeup, a paperback, your keys… You’ll manage to stuff them all in! Be careful though because you’ll want to make one in every colour of the rainbow. I really love the texture that working single crochet with yarn unders makes – combined with this velour yarn it looks like a sea of squishy bobbles – and you’ll stroke this bag all day long, trust me. I mean, just look:
Anyways, let’s go and get making you one of these gorgeous bags. Let’s smash through that chenille stash, girl!
Tools, yarn, skills and extras:
PATTERN WRITTEN IN US TERMS
LEVEL: intermediate or very confident beginner.
Yarn and materials:
Two 100g balls of super-bulky chenille or velour yarn. I used Hobbii Toucan Sprinkle held double, using about 240 m (262 yds). I used different combinations of shades.
6.0 mm crochet hook, magnetic snap bag fastener, yarn needle, scissors.
Gauge: 11 stitches, 11 rounds to 10 cm/4″ in single crochet (yarn under).
Size: 7.5″ wide by 6″ high (19cm/15.5cm)
Skills: Chain stitch, single crochet (worked yarn under), slip stitch.
Tips:
Working this project using the yarn held double on a smaller-sized hook might feel a bit tight to begin with but it will get better as you progress. If you find it really impossible you can go up to a 6.5 mm or 7 mm hook but this will make the bag bigger and less solid.
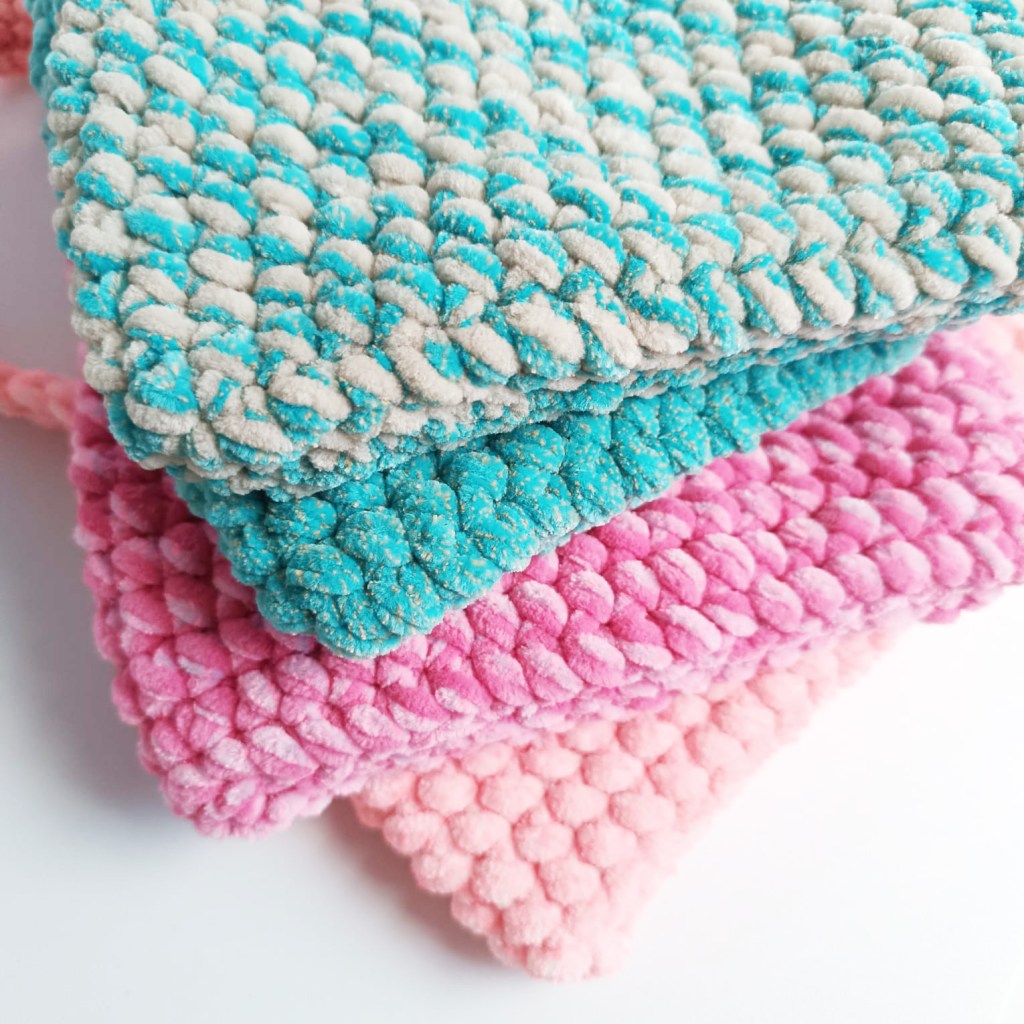
Experiment with contrasting colours to give a great heathered effect. Have a play about with colours that you initially might not think go well together and you might be surprised.
When binding off and weaving in your ends, tie a knot in the end of the yarn tail to minimise any shedding.
You can embellish this bag any way you like! I love the idea of crocheting small motifs such as smiley faces or flowers onto it to give a proper Y2K effect, but surface crochet and embroidery could look amazing, too.
Method (worked bottom up):
· Holding the yarn double, chain 40 and join to work in the round. Make sure to leave a tail of around 60 cm for sewing up the base later.
· Mark the beginning of the round with a stitch marker as we won’t be using foundation chains.
· Working yarn under, single crochet for 14 rounds.
· For the final round, work one slip stitch into every stitch around. Break yarn, bind off and weave in your ends carefully.
· Sew the base together to close it using slip stitches (uses quite a bit of yarn) or your favourite sewing method.
The Strap:
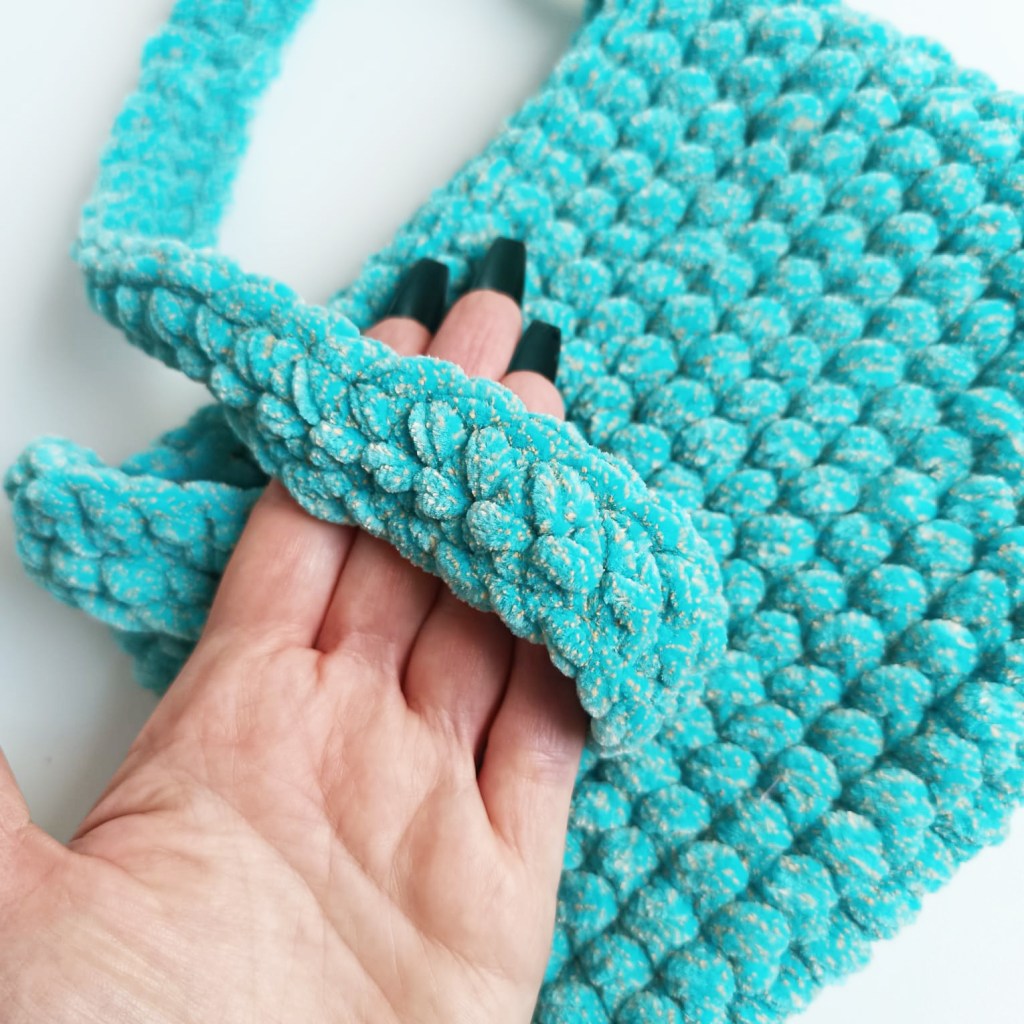
· Chain 50, leaving a tail of 30cm. Skip the first chain and work two rows of single crochet, chaining one and turning at the end of row one.
· Break yarn and attach the straps to either side of the bag carefully.
We’re almost done! Now all you need to do is sew on a metal snap fastener to the center of the inside of the bag and you’re all set. Have fun with your new bag!
If you loved this free pattern, please consider donating and sharing your finished project so I can see your work and spreading the word.
Happy crafting,


Leave a comment