


This post contains affiliate links. If you click and purchase, I may receive a small commission at no extra cost to you. Thanks for supporting my crafting adventures!
If you love kitsch, maximalism, and a little OTT sparkle in your craft space you’re not alone. If you’ve been following me for a while you’ll know my constant struggles with wanting that perfectly minimalist space, all white, clean, basic, Insta-friendly… In reality, though, what happens if I end up adding whimsical, naff objects and it all goes down the pan! Even though I try to keep my craft room minimalist, the glitter-loving side of me always wins. There’s something magical about whimsical, colorful decor that makes a space feel inspiring and joyful (Just ask my tiny plastic dinosaur who lives beside my PC!).
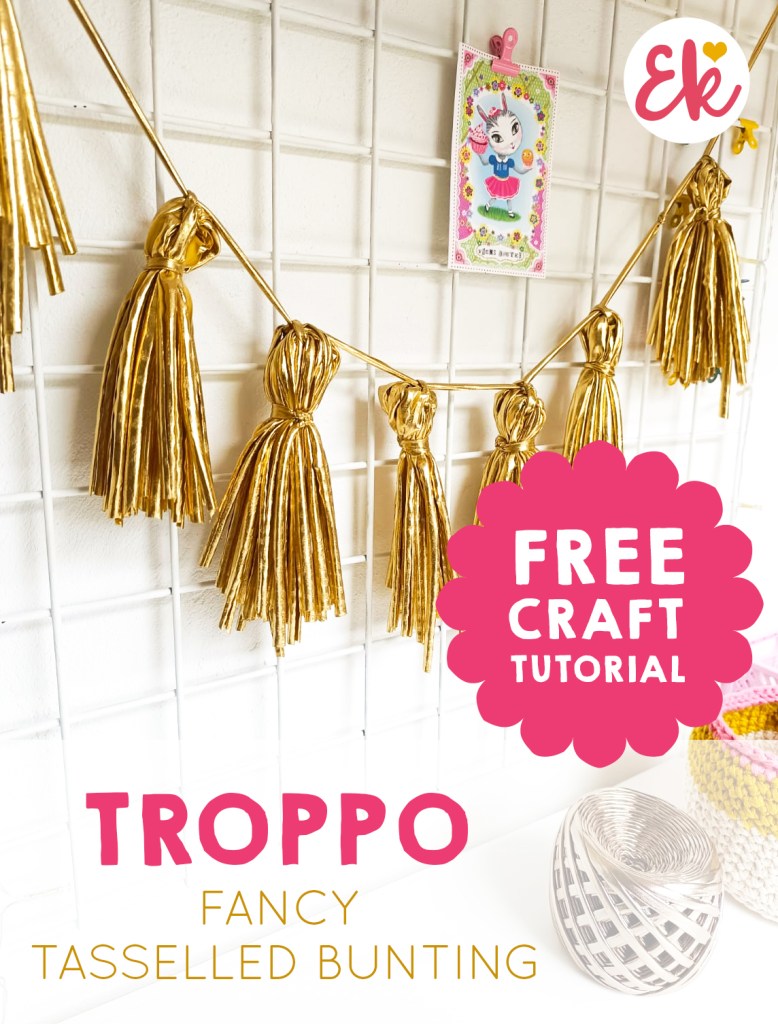
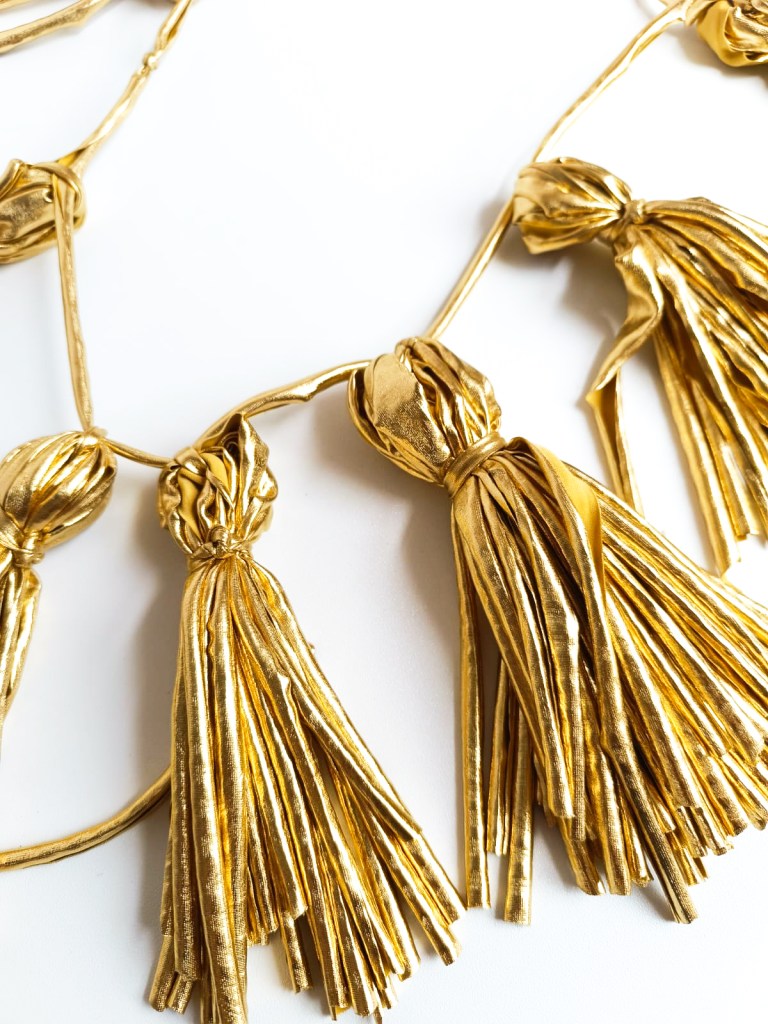
So, for this simple and fun DIY tassel bunting project, I wanted to create something bright, eye-catching, and full of tiki/disco/whimsy charm. So, I reached for a cake of new, limited-edition Hobbii Dancing Queen and whipped up some funky tropical tassels. As for the name, I chose the word ‘troppo’ as it means ‘excessive’ or ‘too much’ in Italian (and let’s be honest, these tassels are borderline too much’ 😁) and I learnt that it also means ‘someone who has gone crazy because of too much heat during the Summer’ in Australian English so yeah, what a perfect name!
When it comes to yarn choices, this yarn is limited edition which means it won’t be around forever (sad face), but t-shirt yarn works really well (provided it doesn’t fray, so choose carefully as ribbon yarn might not work, unless you want flicky bits everywhere) and there are similar yarns available on Etsy and Amazon. searching for “leather-look yarn” or “p.v.c yarn” will bring up some cool alternatives.
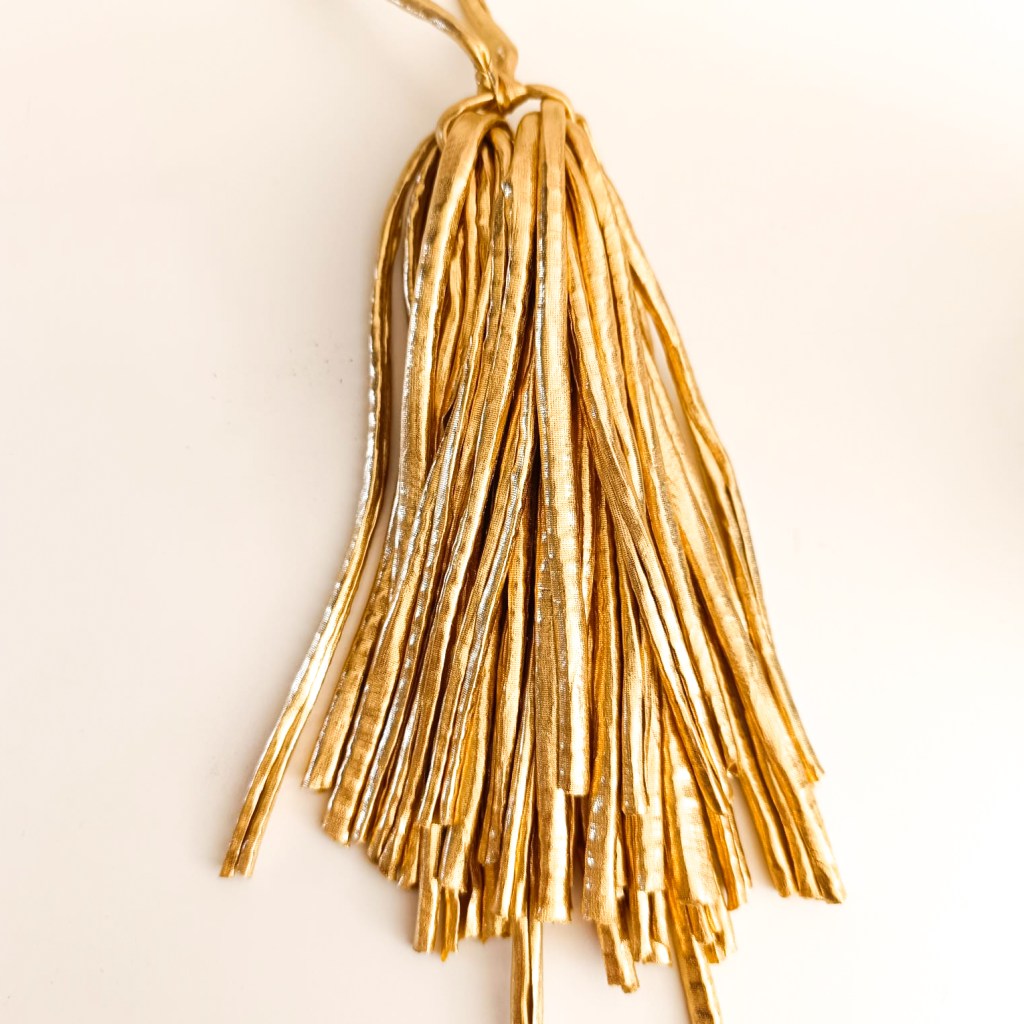
Trimming is up to you – you can go blunt and straight or, like me, go for a more uneven and fluffy look! I find that style a lot cuter.
Whether you’re decorating your craft nook, styling a party, or just dreaming of island vibes, this Troppo Tassel Bunting is the perfect way to add a little sunshine to your space.
Why You’ll Love This DIY Tassel Bunting:
- Beginner-friendly and quick to make! We love a fast project – so satisfying.
- Works as tropical party decor, craft room flair, or even seasonal bunting.
- Easy as heck to customize and the ideal last-minute piece of party decor.
What You’ll Need:
- Hobbii Dancing Queen yarn (one cake in the colour of your choice).
- Scissors
- Cardboard or tassel maker
Making up:
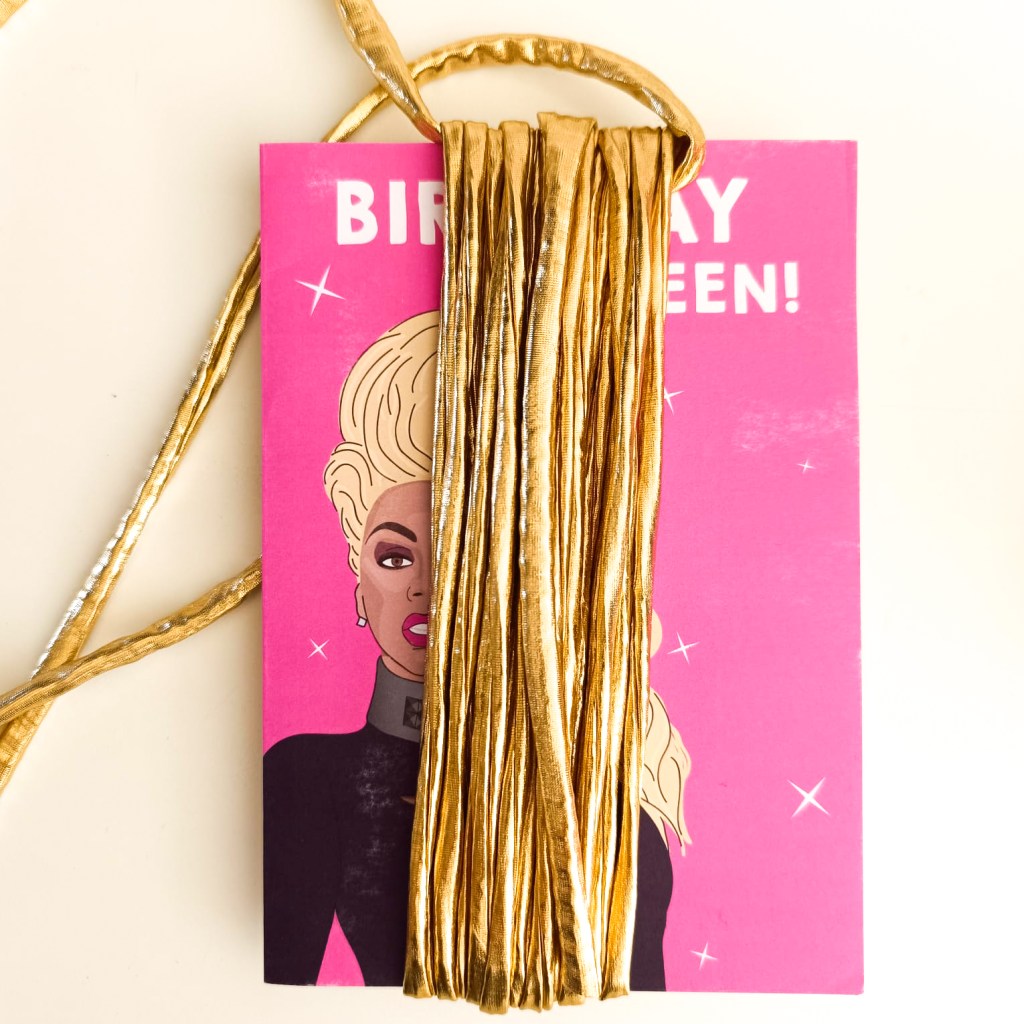
Wrap your yarn around cardboard or a standard-sized greetings card held vertically (6.5″/5″ = 16.5 cm / 12.7 cm) 20 times. Make two thicker tassels using 20 wraps and another five thinner ones with 10, leaving you with seven tassels. Feel free to use a smaller or larger piece of cardboard but be aware that this will affect the amount of yarn that you use.
Tie off the top, then cut the bottom to release the tassel.
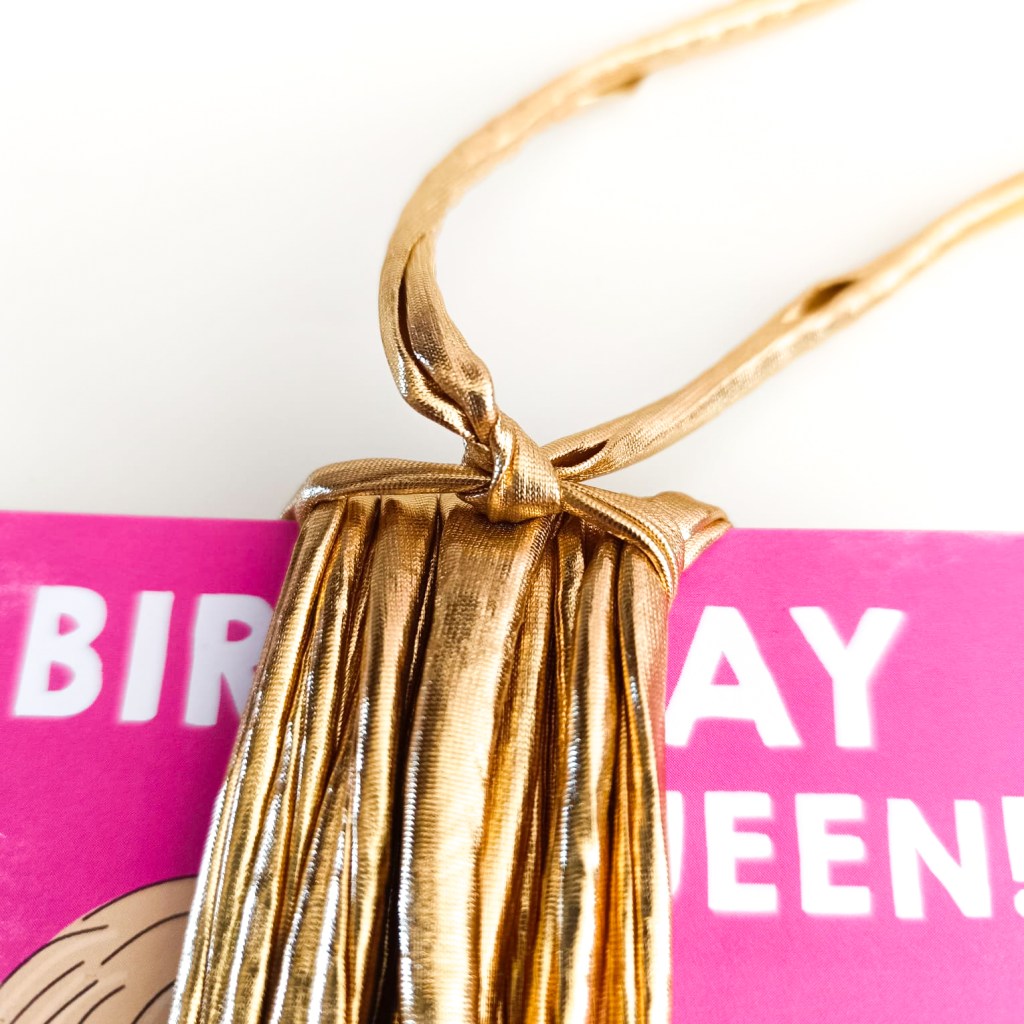
Wrap the neck of the tassel about an inch from the top with a short section of yarn (around 15-20cm).
Trim and fluff the tassel evenly, tugging the ends of the tassel gentle to even them out at the top.
String the tassels onto a strand of the same yarn under the knotted loop where you tied off the the top (you could also use a contrasting colour to add drama). Alternate the position of the thicker and thinner tassels to add texture. I chose the order thin x2, thick, thin, thick, thin x2.
Finally, weave the free ends of the knotted tied-off section back into the top of the tassel to hide them.
Display, admire and show off your groovy tassels in your favourite place!
If you loved this free tutorial, please consider donating and sharing your finished project so I can see your work!
Happy crafting,


Leave a comment