I must admit that I don’t crochet very often, and I’m always very critical of my ability to write crochet patterns. I’m not as confident a crocheter as I am a knitter which is probably why I’m a bit adverse to publishing anything cro-related! However, I’m going to fight against that fear right now and share with you my own pattern for crocheted stars.
There are a gajillion different ways to crochet stars, and a kawillion tutorials out there so here I am throwing my own into the ring like we need just one more. Every little helps!
If you’ve bought anything from my Etsy shop you may have been lucky enough to have found one of these five-pointed stars as a little gift in your parcel – you’re welcome! – and I thought it was only right for me to share how I make them and a few cool tips on how to make sure they stay stiff and durable. We don’t need no floppy stars.

I have followed many tutorials for making stars (there’s a LOAD of them online) and my tutorial mixes up all the different techniques I’ve learnt into a really easy, satisfying and cute pattern. Even if you’re a newbie or slow crocheter you’ll be able to make a whole stack of these babes in an afternoon, and if you’re a speedy crocheter like myself you can even make one in under five minutes – not that I’m challenging you or anything!

Level: Advanced Beginner
This tutorial uses US terminology.
You will need to know:
- Chain stitch (ch st), slip stitch (sl st), single crochet (sc), half double crochet (hdc), double crochet (dc), weaving in ends.
You will need:
- Several small amounts (less than 15g) of worsted weight yarn in natural fibers.
I love using cotton, linen and wool. I avoided acrylic for these stars because I wasn’t too keen on the texture; - A 5.00mm crochet hook;
- A pair of scissors and yarn/wool needle for weaving in ends;
- Starch spray (optional) and/or pva glue and water to stiffen.
- Blocking board (or similar) and rust-proof pins.
Method:

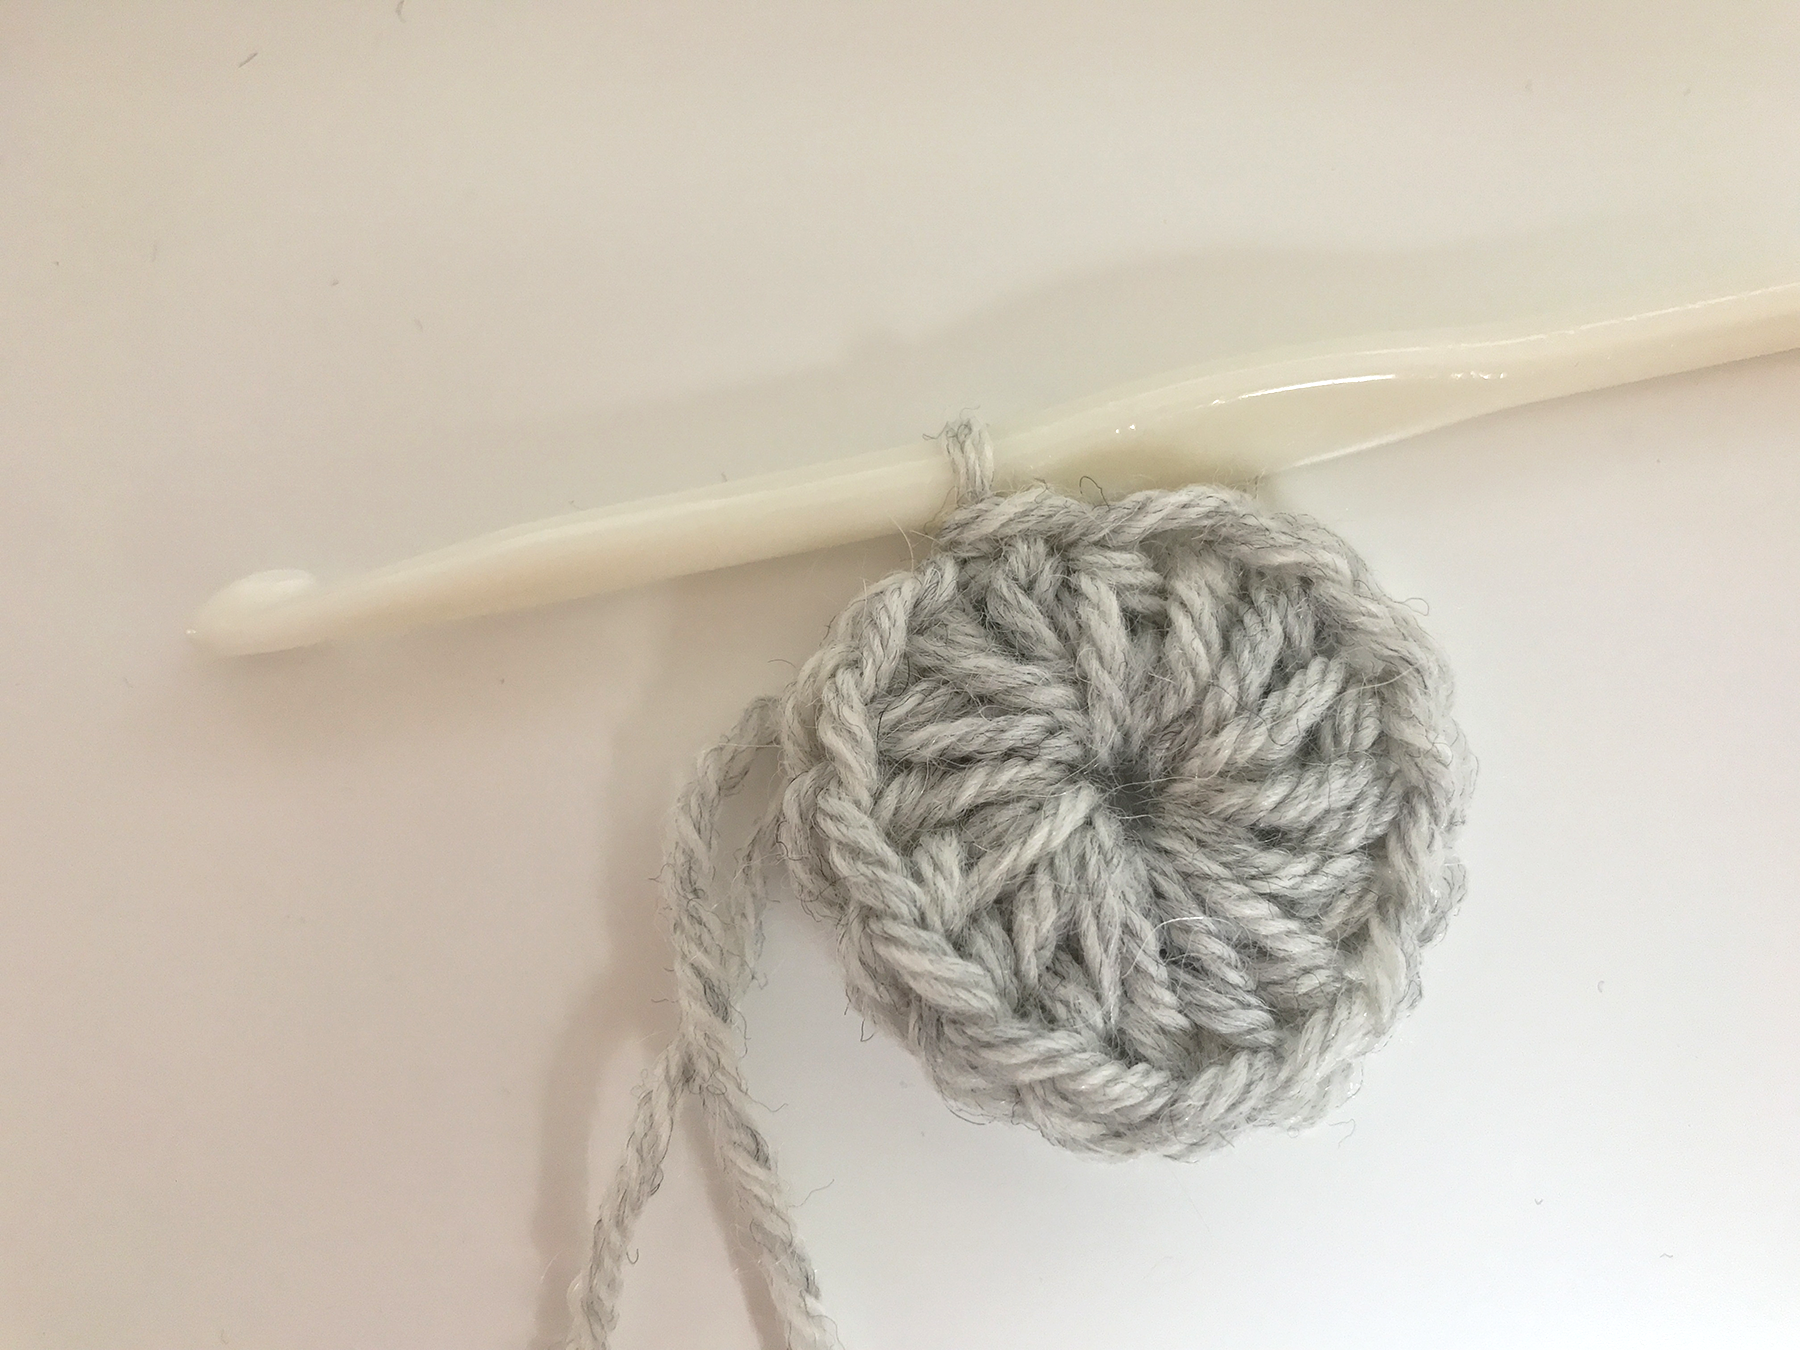
To start off, ch five and sl st into the first chain to form a loop. Ch 2 (this does not count as the first stitch) and make 15 hdc into the center of the loop, making sure to crochet around the tail. Sl st into the top of your first hdc to finish the round. Count ’em: you should have 15 hdc stitches.

Ch four, with the final chain being the turning chain. Make a sc into the third chain, a hdc into the second and finally a dc into the first chain. This is your first star point.


Now, carefully sl st into the third chain from your chain four.

Your star should now look like this. Continue in this way around until you have formed five star points, sl st into the third st from your ch each time. sl st into the final third st to finish up. Pull the center tail closed and weave in your ends.

And you’re done! Cute, right? Now ideally we need to make our star look flatter and less curled up. There are two ways of doing this; you can spray your star with starch and pin it onto a blocking board, or you can follow my super-duper technique below to create a firm star that is ideal for a hanging ornament.
How to stiffen your star:
Mix 1/2 cup of white/pva glue with 1/2 cup water and soak your star(s) in the mixture for a minute or two. squeeze out the excess and pin them in shape to dry on a blocking board or another similar surface. When they are dry, attack a piece of twine or cord to the top and hang them as a decoration, as a garland or to gifts as a hanging tag.
Feel free to tag me on Instagram (@emmaknitty) if you make any stars of your own – I’d love to see your creations!
