How To · Tutorial

Little Dot Lampshade ยท Craft Tutorial

Anyone who has moved house knows that choosing the right decor, furniture and accessores to make your new home complete takes a while. We moved house two years ago to our wonderful pad here in Asturias, and even though we have the bulk of everything we need, it’s still a labour of love to get it looking just right. Recently we changed up our bedroom, ditching some simple, white lampshades we had in our old flat (it was very clean, modern and cool) that totally didnt go with the rustic/modern style we have in or current home. I wasn’t too keen on just chucking these old lampshades out – I mean, HELLO! Plain white lampshades are just begging for a cheeky upcycle – so I decided to make something wonderful out of them!

If you too have some plain lampshades lying around that need a new lease of life follow my simple tutorial and you can whip up your own! The best thing of all is that you can use any yarn colours you like to match your interior – I love adding black yarn for drama – and make a totally unique piece.

You will need:

  • Several small amounts of fingering/dk/aran yarn in your chosen colours;
  • A sharp wool/yarn needle and a thinner needle to make holes;
  • A pencil and scissors.

Using a pencil, draw some rough ‘splodge’ shapes or ovals all over the lampshade. Try not to make them too neat, as the idea is to give an irregular look. Afterwards, pierce holes using the thinner needle around the outlines.

Thread your yarn of choice onto the sharp yarn needle and putline the shapes using running stitch. The yarn shown is a 100% alpaca fingering weight yarn.

Now you can “fill” the shapes using long embroidery stitches, or you could use shorter stitches if you prefer. Don’t worry too much about filling the shape exactly, as leaving a few small gaps around the edges of the shape can add an interesting effect

Continue as above using different coloured yarns until you have completed and filled all the shapes.

Display and enjoy your new, fabulous, unique, incredble lamp as you wish and please tag me on Instagram so I can check out your creations!

Tutorial

Tutorial ยท Origami Pouch

Last week, as part of a huge rebrand of my Etsy store and some big changes for 2019, I made the rather huge decision to go plastic-free with my packaging choices. It’s the right (albeit expensive) thing to do, and I am looking forward to the challenge. Should it be a challenge though? The fact remains that, although boxes are freely available to buy, they are a lot pricier than a simple bubble-wrap padded Jiffy bag or packing envelope, and finding ways of making sure items arrive to their desitination without getting the crap smashed out of them is definitely going to be hard.
Luckily, if you’re willing to pay, there are options available that mean you don’t have to be so reliant on plastic. I’ve found some good sellers on Amazon and Etsy who specialise in boxes and eco-friendly options so I’ll definitely be sticking with them.


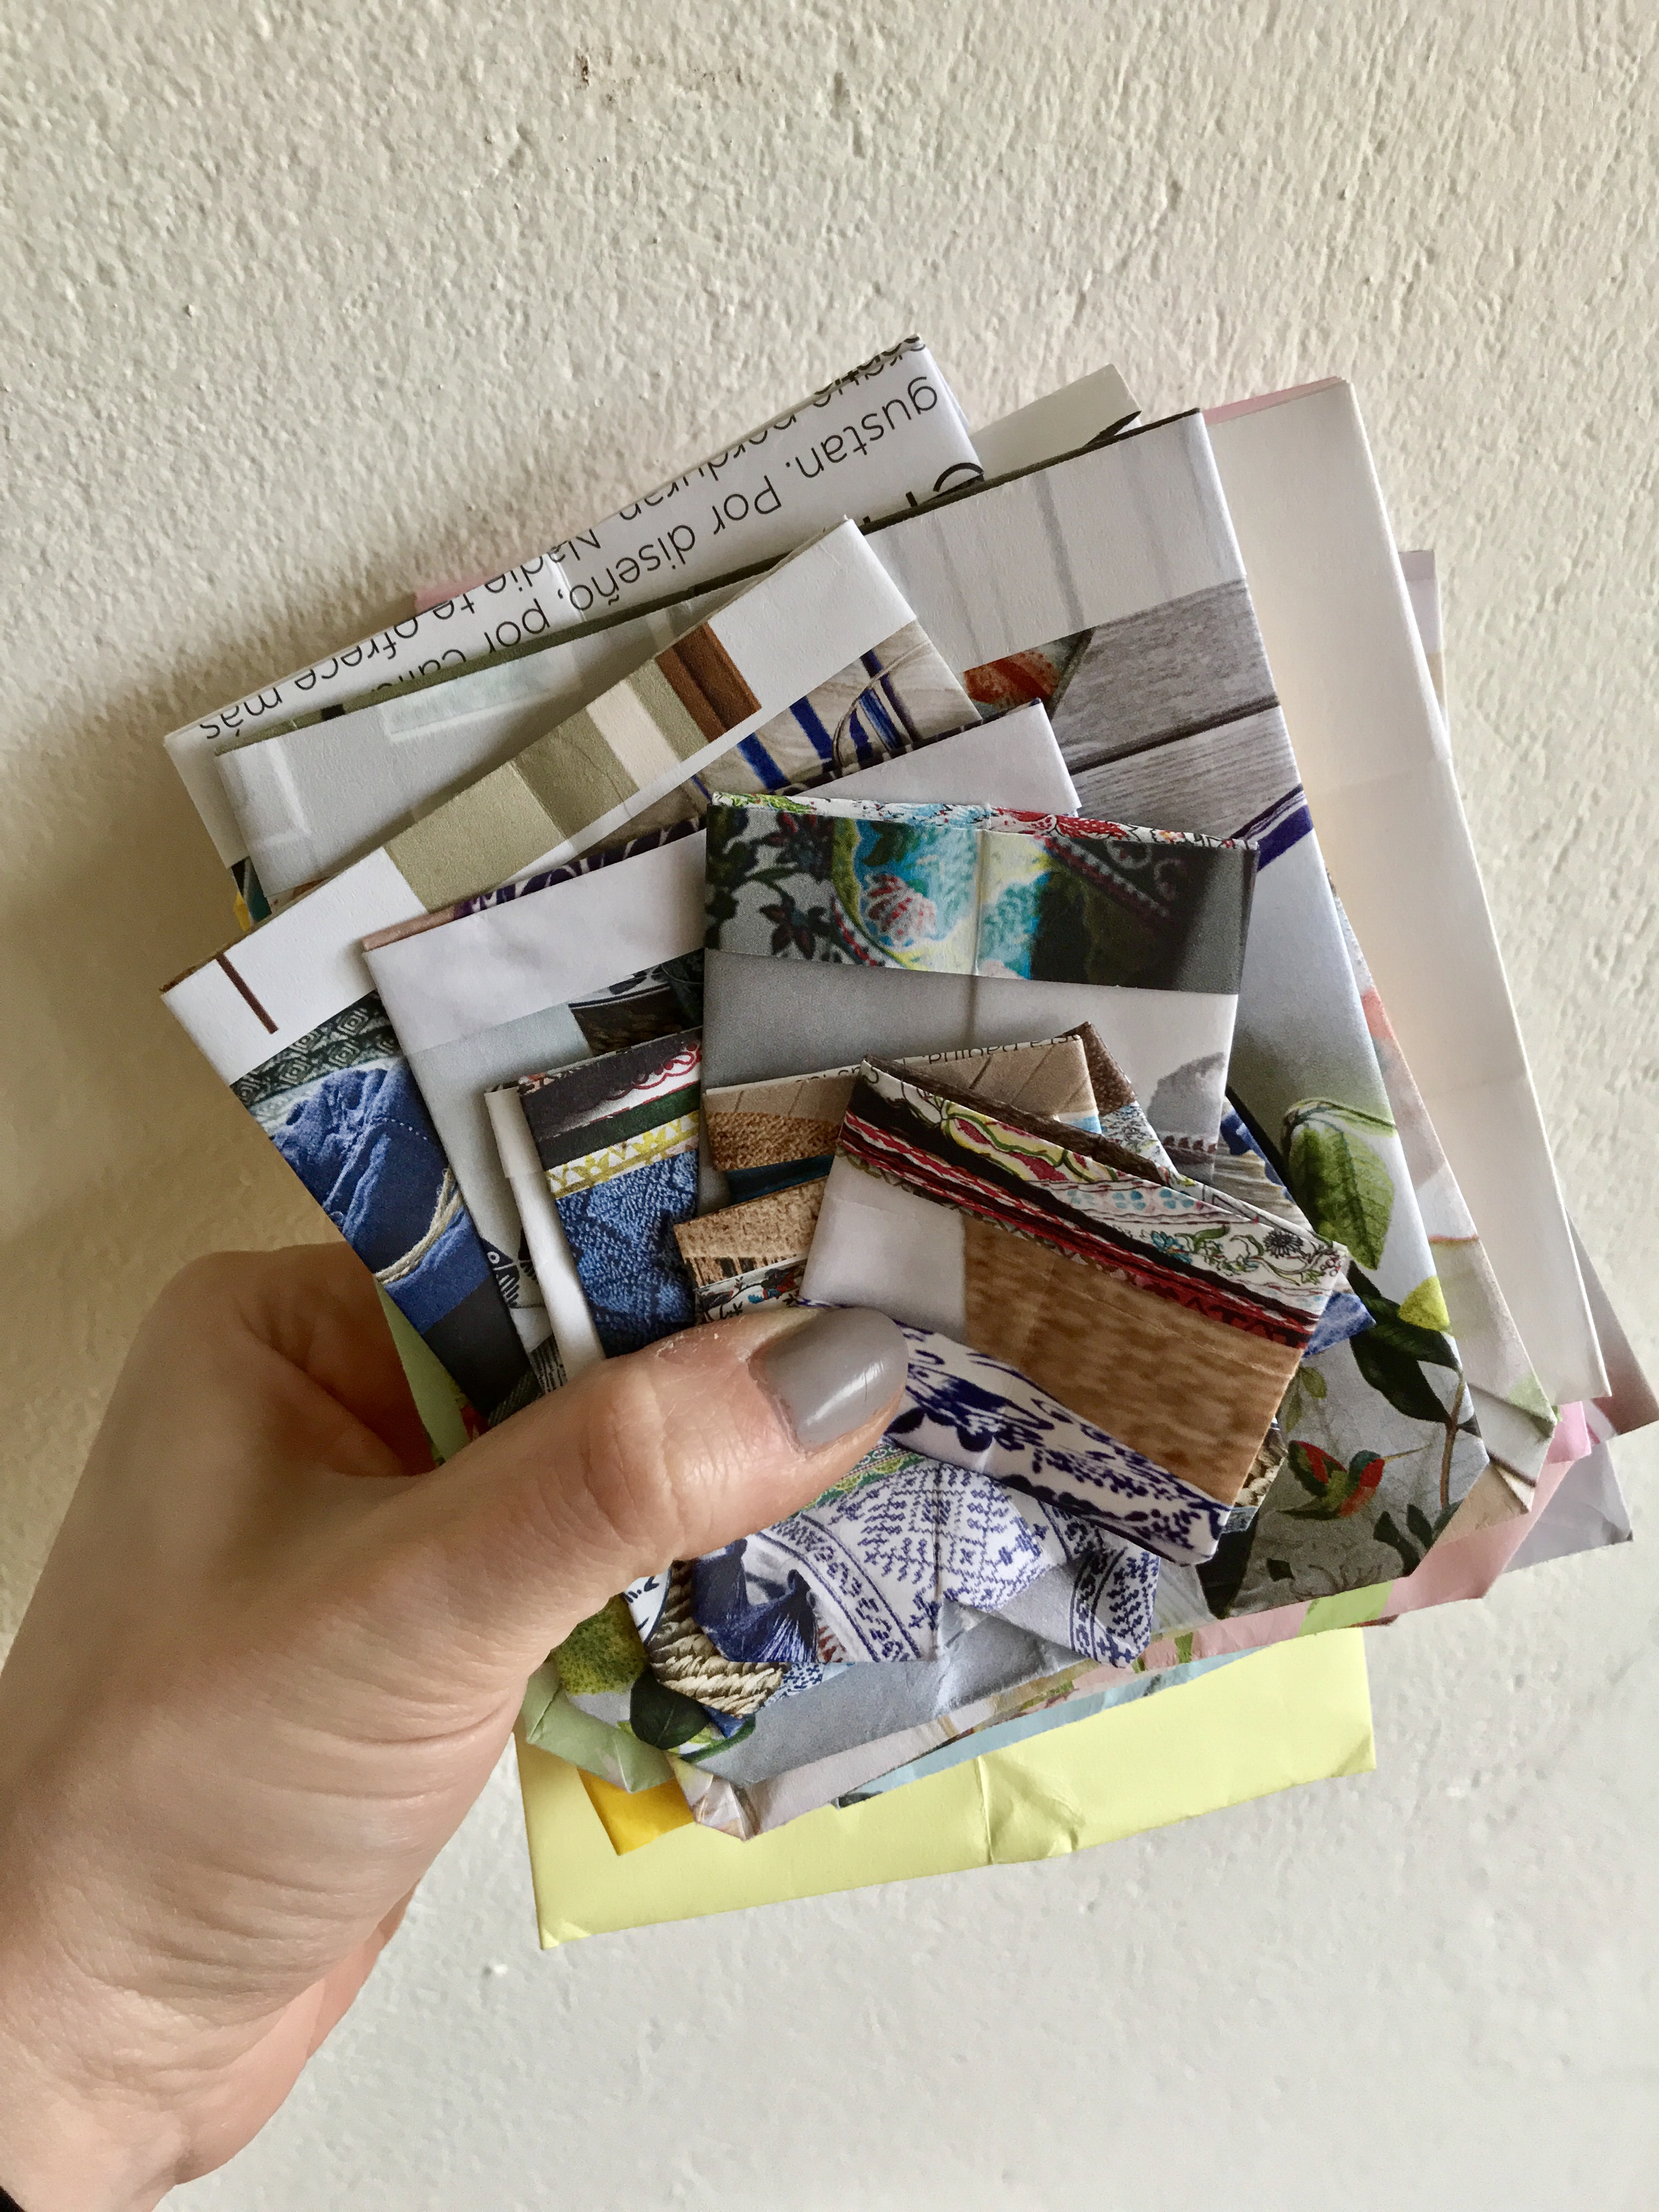
When I studied Graphic Design at college, packaging design was a big part of the (awesome) course, so I was super-excited the other day when I had a brainwave (makes a change from the usual brain farts) and decided to look for some ways of packaging small items inside boxes to keep them safe. I found a few tutorials online – some better than others – and decided to adapt them all into my own version and came up with this unacceptably cute and satisfying origami pouch, or sack. I can’t say sack without smirking because so for this post it’ll be known as a pouch. Yes, I know I am childish. Have you seen my Instagram feed? Pure immaturity.

To make your own pouches I recommend using recycled paper and/or paper with a high gsm – that is ‘heavy’ paper – to ensure really good, crisp results. Avoid using newspaper or glossy printed pages from magazines (like, don’t use the Argos catalogue) because they don’t work as well. Quality catalogues, high-quality drawing paper from sketchbooks, thin card (fabbo results) as well as IKEA’s ‘Mรฅla’ range of papers work very well. You can also try using ultra-trendy Kraft paper, but I’d recommend reusing paper you have around the house rather than buying any especially. Try using papers that match your brand’s identity if you are planning on using them for packaging purposes to give a professional but creative, modern image.

You will need:

  • A ruler, ice lolly stick or blunt item to score and flatten edges without ripping the paper.
  • A flat surface to work on.
  • A selection of different sized, high-quality rectangular papers with designs of your choice.
  • A pair of hands.

Method:

  1. Place your paper flat on a surface with the prominent side you want facing you.

2. Fold the paper in half so that the ‘open’ end is at the top. Remember to press all folds you make gently but firmly to ensure a sharp look.

3. Fold a small flap down from the edge of paper closest to you.

4. Turn the paper over and fold up the two bottom corners as shown.

5. Fold the piece in half from right to left to form a sharp fold in the middle. Open up again once you’ve finished this center fold.

6. Carefully fold both sides in towards the center and crease firmly.

7. Fold down the flap behind the flap you folded in step three so it covers it.

8. Finally, finish the pouch by gently opening it up and shaping it with your hands. Push the bottom end slightly inwards to form a more pouchy shape, and make it sharper if you wish by finding the inside crease and pinching it a little with your fingers. Finished!

And now you’re done and can enjoy your pouch! These little origami pouches are wonder for storing seeds or small sweets in, for party favours, packaging small items such as pins or badges or simply as decoration. Why not try making a garland of them? Let me know what you create by tagging me on Instagram @emmaknitty and I’d love to share what you’ve made…